How to Create and Grow Your Own Bottle Garden

Create a Bottle Garden in 5 Easy Steps
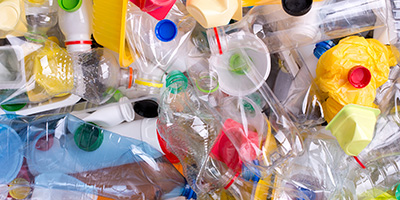
Americans throw away 2.5 million plastic bottles every hour, and every year more than 28 billion glass bottles and jars end up in landfills. Just by reusing one glass jar, you can save enough electricity to light an 11 watt CFL bulb for 20 hours.
There are many ways to reuse glass and plastic bottles, and a bottle garden is one of them.
What Is a Bottle Garden?
Bottle gardening is the process of growing plants inside a glass or plastic bottle. Bottle gardens are typically used as a substitute garden in areas with little to no outdoor space, such as high-rise apartments.
They’re easy to create and maintain, are an attractive and unique décor item and are very eco-friendly, not to mention they’re great for keeping that summer feeling alive during the colder months.
How to Make a Bottle Garden in 5 Easy Steps
What you’ll need:
- 1 glass or plastic bottle
- Tweezers or chopsticks
- Activated charcoal
- Hole puncher
- Seeds
- Pebbles
- Soil
Step 1: Select Your Bottle
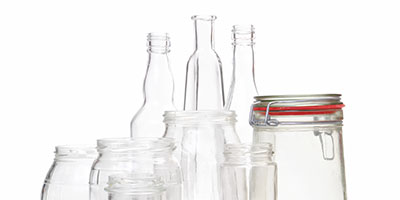
Whether you’re making a glass bottle garden or planning to put your garden in a plastic bottle, choose a bottle that’s big enough for plants to grow in. The larger the opening, the easier it will be to maintain your garden. If you’re using plastic, 2-liter bottles are an ideal size. Make sure to clean the bottle and let it dry before using it.
Looking for more ways to recycle your bottles? Check out our guide on How to Reuse Plastic Bottles!
Step 2: Fill the Bottom of the Bottle With Pebbles
Reuse rocks in your yard and add enough pebbles to cover the bottom of the bottle. Pebbles provide a space for water to collect in.
Step 3: Add a Thin Layer of Activated Charcoal and Peat Moss
Activated charcoal reduces any smell caused by the decomposition in the bottle and helps keep it clean. You can usually find activated charcoal at pet stores, industrial supply stores or wholesale commercial stores. Add an additional layer of peat moss (a nutritious soil) on top of the charcoal. The peat moss will hold water and nutrients that the plant needs in order to grow.
Step 4: Plant Your Garden
When planting your bottle garden, choose seeds of small indoor plants and place them in the soil using tweezers or chopsticks. Tropical vegetation makes for ideal bottle garden plants because they perform well in humid conditions. Suitable plants include:
- Club moss: evergreen herbs with cone-shaped clusters of small leaves.
- Crotons: comes in a wide range of leaf shapes and colors (yellow, orange, red, black).
- Prayer plant: a low-growing ground cover whose leaves tend to fold together at night.
Step 5: Seal Your Garden and Watch It Grow
After you add water, put the lid on the bottle and place it in an area that gets some sunlight. Since plants need air and moisture, carefully punch a hole in the lid with a hole puncher or another sharp tool. Bottle gardens only need watering when no condensation is visible on the bottle.
Looking for some inspiration? Check out this vertical plastic bottle garden, or this 40-year-old glass bottle garden juggernaut. Want to start with something smaller? You can make your own little mason jar herb garden. Bottle gardens come in all shapes and sizes, the only limit is your imagination (and how much potting soil you have on hand). Let us know what kind of bottle garden you’re making in the comments below!


