How to Remove Cabinets: A Step-by-Step Guide

The Complete Guide on Removing Kitchen Cabinets
Removing your kitchen cabinets can be the first step in a whole kitchen renovation or simply a way to give your kitchen a new look. It gives you a chance to restyle your kitchen or even dabble with modern open shelving.
Whichever direction you go, this step-by-step guide will show you how to remove cabinets, both upper and lower.
What to Know Before Removing Your Kitchen Cabinets
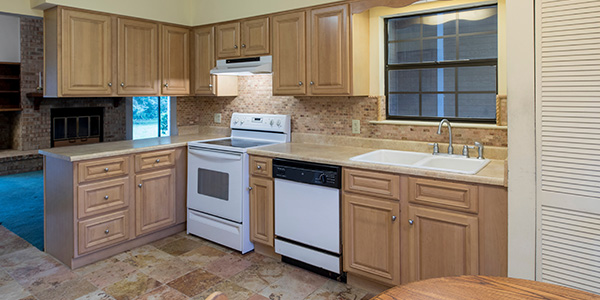
Your kitchen cabinet removal project begins with knowing how your cabinets were assembled. Regardless of the type of material used — plywood, melamine and hardwood being the most common — identifying how they were built and connected will help you remove them. How the cabinets are mounted to the wall determines if you can reuse your kitchen cabinets after removal. The most common assembly styles are:
Type of Cabinet | Description | How Are They Attached? | Good to Reuse? |
|---|---|---|---|
Unitized | Built in place as one unit using the wall as the back. This style is commonly found in houses more than 25 years old. | Assembled and attached to the wall with nails or glue. | Not usually. |
Prefabricated | Assembled as individual units with their own back and arrive ready to install. Units are screwed together when installed, but can be removed individually. | Anchored to the wall using wood screws through the back of the unit or sides. | Yes. |
Ready-to-Assemble | Cabinets purchased as parts to be put together by the consumer. Have their own backs. Can be installed or removed individually. | Anchored to the wall using screws through the back of the unit or sides if necessary. | Yes. |
Frameless | Similar to prefabricated or ready-to-assemble cabinets, except the frames are small and hidden behind the doors. | Anchored to the wall by wood screws or sleeve-and-screw connectors. | Yes. |
Unitized Cabinets
Open your cabinet door and look at the back. If you can see your kitchen wall, you have unitized cabinets. Installers often use glue when building unitized cabinets into place. That can make removing cabinets from the wall a little trickier, and we’ll get into that further down in the How to Remove Glued Kitchen Cabinets section. If you’re removing glued kitchen cabinets, you probably won’t be able to reuse them.
Prefabricated Cabinets
Prefabricated cabinets — the most popular style in the U.S. — have back panels and can be easily removed for reuse. Wood screws typically anchor them into the wall studs. Drywall anchors or mounting strips may have been used if no studs were available.
Ready-to-Assemble Cabinets
Ready-to-assemble cabinets arrive in parts that need to be put together before you can install them. Aside from that, they are similar to prefabricated cabinets in how they are mounted, and aren’t more or less difficult to remove.
Frameless Cabinets
Frameless cabinets offer a more contemporary style by hiding their smaller frames behind the doors, which are attached directly to the cabinet box. They can offer more storage space and may use thicker material. Like prefabricated and ready-to-assemble, the individual frameless cabinets can be removed and reused easily.
Can I Remove Kitchen Cabinets Myself?
Yes, in most cases, kitchen cabinet removal is a simple DIY job that you can handle on your own. If you’re hiring a professional to remodel your kitchen or install new cabinets, removing the old ones yourself can save time and money.
But when planning a kitchen remodeling project, it’s important to acknowledge what you can and can’t do. Consider hiring a professional if you have appliances built into your cabinets, particularly if your sink is plumbed into the cabinet or if you need to safely disconnect and remove your electric or gas oven.
If you’re not 100% comfortable doing this work yourself, hiring a pro can save you major headaches and expensive mistakes.
How Do I Remove Kitchen Cabinets Without Damaging Them?
Unless your kitchen cabinets are unitized and were assembled on-site, keeping them intact shouldn’t be a problem — just don’t drop them.
Before you get started, pay attention to the screwheads that connect the cabinets and hold them to the wall. If they’re still good, removing them is simple enough. If they’re damaged, you may need to use a hammer and crowbar/pry bar to get them off the wall and separate them.
How Do I Remove Kitchen Cabinets Without Damaging the Wall?
If you only need to remove the anchor screws, you won’t risk too much damage to the wall. Just remember to carefully pull cabinets away from the wall. If the wall was painted before the cabinets were attached, the wood may have fused slightly to the paint over the years.
If you need to use the hammer or pry bar to remove your cabinets from the wall, you risk damage to the wall. To minimize damage, use your stud finder to locate the wall stud. Apply pressure from the pry bar to the stud area, otherwise you could damage the drywall. Keeping a piece of plywood between the pry bar and the wall allows the pressure to spread out rather than being concentrated on one spot, which helps you avoid damaging the wall.
How Much Does Kitchen Cabinet Removal Cost?
Hiring a pro will run you anywhere from $570 to $1,219, which includes labor and debris disposal, according to Homewyse.com. Removing kitchen cabinets yourself won’t cost you more than the tools you have to buy and material disposal.
Time-wise, plan for at least two days of work. We recommend working with a buddy to stay on track.
Doing a full kitchen remodel?
Follow our guide to Remodel Your Kitchen on a Budget!
How to Remove Upper Kitchen Cabinets
To remove kitchen cabinets, you’ll be working in reverse order from how the cabinets were installed. Didn’t install the cabinets initially? Make sure your drill or electric screwdriver is fully charged and follow the steps below.
1. Gather Cabinet Removal Supplies
The tools and materials you’ll need to safely remove cabinets from the wall include:
- Pry bar or crowbar
- Two putty knives
- Utility knife
- Paint scraper
- Hammer
- Stud finder
- Drill or electric screwdriver
- Reciprocating saw (if you're also removing countertops or have unitized cabinets)
- Work gloves
- Safety glasses
- Blankets or furniture pads
- Scrap wood
Also, if you’re disposing of your cabinets or planning a larger kitchen renovation, consider renting a dumpster to get rid of your debris without having to wait for your city’s bulk waste collection day.
2. Prep Your Kitchen
Before you begin removing cabinets, follow these steps to prepare your kitchen:
- Shut off the electricity in the kitchen at the breaker box.
- After ensuring the power is off, remove the range hood and any inset lighting in your cabinetry.
- Remove countertop appliances and other loose items, such as your coffee maker, knife block and toaster.
- Cover your countertops and lower cabinets with furniture pads or blankets to prevent scratches and other damage.
- Make sure you have plenty of room to work. Move any unnecessary furnishings, like tables, chairs and barstools.
If you’re doing a full remodel or have appliances built into your cabinets, you’ll need to remove them as well. Again, if you’re unsure how to do that safely, contact a professional to disconnect and remove those appliances.
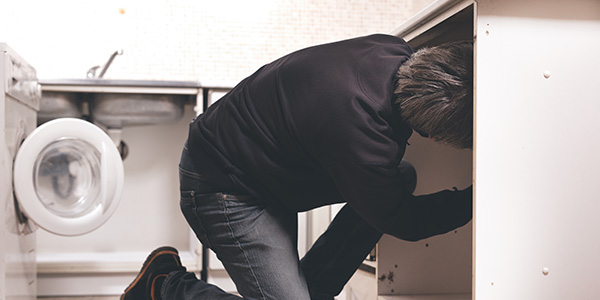
3. Prepare Your Kitchen Cabinets for Removal
Before you remove your kitchen cabinets:
- Empty your cabinets.
- Check your cabinets for any hidden electrical connections and make sure they are disconnected. If you’re unsure, it’s a good idea to cut power to your kitchen to be on the safe side.
- Remove cabinet doors. Use your drill or screwdriver to unscrew the hinges from the cabinet so the hinge stays connected to the door. If you aren’t trying to reuse or donate your old cabinets, you can speed up the process by using a crowbar to remove the doors, but you’ll want to wear gloves and goggles.
- Remove shelves if possible.
If you plan to reuse your cabinets, take these additional steps before moving on to cabinet removal:
- Gather loose screws or hinges from each cabinet in a plastic bag or container.
- Once you’ve removed the cabinets from the walls, attach the container of hardware to the cupboard to keep materials together.
- If you plan to reinstall them in the same space, label the location or number the cabinets with tape before removing them. This will help you keep them in order.
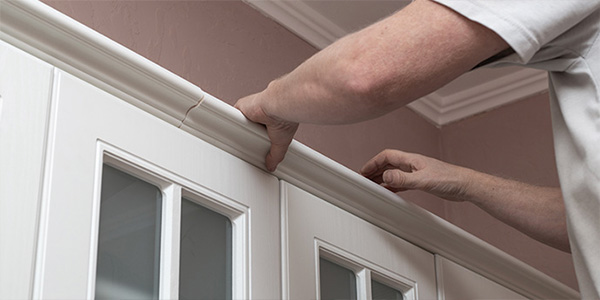
4. Remove Caulk and Molding
Before removing your cabinets from the wall, detach any decorative exterior elements.
Caulk and Paint: Use a utility knife to cut away any caulk sealing the gap between the cabinet edge and the wall or trim. This helps reduce damage to the wall and cabinets when dismantling. Use the same process if the cabinet edges were painted to the wall or each other.
Molding and Trim: If you’re not saving the molding or trim, use a hammer to wedge a pry bar beneath the trim and pull it away from the cabinet.
Take extra care if you want to save these materials:
- Slide a putty knife close to one of the nails between the trim and the cabinet and slightly loosen it. Insert the pry bar on top of the putty knife and pull the trim out farther.
- If the trim seems like it’s about to crack, use a second putty knife between the pry bar and the trim.
- Move to the next nail and repeat.
Continue until the molding or trim is loose enough to remove in one piece.
5. Separate Cabinets From Each Other
This is easier if your cabinets are prefabricated. Locate the screws connecting the cabinets on the inner side panels. Use your drill or screwdriver to remove them. This lets you remove your upper kitchen cabinets one at a time.
If your cabinets are older and were built as one unit, this doesn’t apply. You’ll need a helper to remove the unit in one piece if you plan to reuse your kitchen cabinets in the garage or elsewhere.
If you’re tossing the old unitized cabinets, carefully use your reciprocating saw to make cuts from the front of the cabinets to the back, cutting the unit into sections. Be sure to check for hidden wires or plumbing before making cuts. Wear the appropriate safety gear as well.
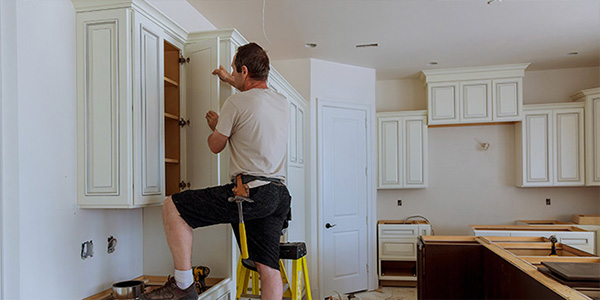
6. Remove Cabinets From Wall
Have your helper hold upper cabinets steady before you start taking out the screws anchoring the cabinets to the wall. Or, use pieces of scrap wood under the cabinet to support its weight. Otherwise, you may drop your cabinets, damaging them and your countertops. Be sure to wear your safety gear during your project.

Quick Tip
If you’re not saving your backsplash, feel free to remove the tile before taking down your cabinets.
How to Remove Kitchen Cabinets Attached With Screws
- Locate the screws anchoring the back of the cabinet to the wall.
- Start by removing the screws closest to the bottom and work your way up.
- Be prepared to lift the cabinet away from the wall as you remove the final screws at the top.
- Carefully remove each cabinet from the wall one at a time.
How to Remove Glued Kitchen Cabinets
You’ll need to use your hammer and pry bar when removing glued kitchen cabinets, or cabinets held together with nails.
- Start with a cabinet that has open space on the end instead of one that’s flush against a wall or close to it.
- Using a stud finder, locate the stud behind the kitchen wall. You want to pry directly against the structural stud to prevent any damage to the wall.
- Use your hammer to wedge a pry bar between the side of the cabinet and the wall. Use a piece of plywood between the lever of the pry bar and the wall to prevent wall damage while prying.
- Repeat this process at the top, bottom and front of the cabinet if needed to pry it from the wall.
- Carefully remove the unit when it’s loose enough.
How to Remove Lower Kitchen Cabinets
Cabinet removal is a little different with the lower units. You don’t have to worry as much about dropping them, so you can remove lower kitchen cabinets without damaging them or your wall as long as you pace yourself. But you can’t do anything until the countertop is out of the way.
Countertops can get heavy depending on the material — the average granite countertop weighs 13 to 19 pounds per square foot — so consider working with a helper. If you’re replacing wood or laminate countertops and aren’t saving your cabinets, you can use your reciprocating saw to cut the countertop into sections that are easier to manage.
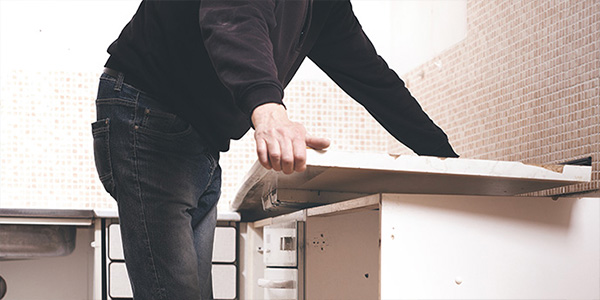
1. Remove Countertop From Lower Cabinets
- If your countertop has a backsplash, you’ll need to remove that before taking off the countertop. Cut the bead of silicone adhesive along the top and side edges of the backsplash with your utility knife.
- Wedge a paint scraper between the backsplash and the wall by tapping it with your hammer. Doing this loosens the adhesive holding the backsplash to the wall. Start at one end and work your way down the backsplash until it comes away from the wall.
- Use a pry bar if you need more leverage to remove the backsplash. Remember to use your stud finder to locate the structural stud before applying pressure to the wall with a pry bar. Applying pressure to the stud prevents damage to the wall itself. For added protection, use a piece of plywood under the pry bar’s lever.
- Look at the top of the inside of your cabinets to locate the screws securing the cabinets to the bottom of the countertop. Use your drill or screwdriver to remove them.
- Larger sections of the countertop may be held in place with silicone adhesive in addition to screws. As you did for the backsplash, use a hammer to wedge your paint scraper between the bottom of the countertop and the top of the cabinet. You’ll only need to wedge it in about an inch to break the seal.
- Use a pry bar to gently lift the countertop from the cabinets. Have your helper lift the countertop while you pry to make the process easier.
- Lift the countertop from the lower cabinets and remove it from your work area.

Quick Tip
Some countertops, such as granite, need an adhesive or epoxy to hold them in place. Removing these types of countertops is more challenging, and you likely can’t do it without damaging the cabinets.
2. Separate the First Two Cabinets From Each Other
- To avoid damaging your wall, start with a cabinet that has open space instead of one that’s flush against a wall.
- Use your drill or screwdriver to remove the screws that hold the first two cabinets together.
3. Remove Kitchen Cabinets One at a Time
- Use your utility knife to score any paint that’s between the cabinet units.
- Starting with the first cabinet that you separated, locate and remove any screws anchoring it to the wall. Don’t work ahead and start removing the anchor screws for the other cabinets. Doing so will allow them to move freely, and they could damage the wall while you remove the other cabinets.
- Gently pull on the first cabinet until it comes free. Remove it completely and set it to the side.
- Continue these steps until you’ve removed the lower kitchen cabinets. Note the final cabinet may have screws anchoring it to the back wall and the side wall.
4. Remove Any Corner Cabinets
Have a single cabinet installed between a wall and an appliance, like your refrigerator? It might seem like a tight spot but removing a corner cabinet isn’t tricky as long as you’re careful.
- Remove the four screws holding the countertop to the cabinet. Smaller sections of countertop usually don’t have the adhesive underneath, so this one should be easier to lift away.
- Remove screws anchoring the cabinet to the back and side walls.
- If the side against the wall has been sealed with paint, you’ll need to score that seal with your utility knife.
- Gently work the cabinet loose so it comes free. Take care not to scratch your wall or appliance while pulling out the cabinet.
5. Carefully Remove the Cabinet Around Plumbing
Pipes and water lines going through the wood can make cabinet removal tricky, even with prefabricated cabinets. Cabinetry built around plumbing will likely need to be cut unless the installers left space between the pipes and the wall.
If the bottom of your cabinet was drilled to fit the water intake lines, you’ll need to cut the wood. Use your reciprocating saw to carefully cut a large enough piece around the pipes so you can easily remove most of the existing cabinet. If the bottom of the cabinet is nailed to the base, use your pry bar to lift and remove it, leaving the small remaining piece that still surrounds the pipes.
Using your saw, carefully cut slits in the remaining piece where the installer drilled holes for the pipe. Be careful not to let the saw rub against or cut the water pipe.
Can You Reuse Kitchen Cabinets?
Yes, if you keep them in good shape when removing them, there are plenty of creative ways to reuse kitchen cabinets:
- Reuse kitchen cabinets in your garage for organizing tools or to convert the space into a room.
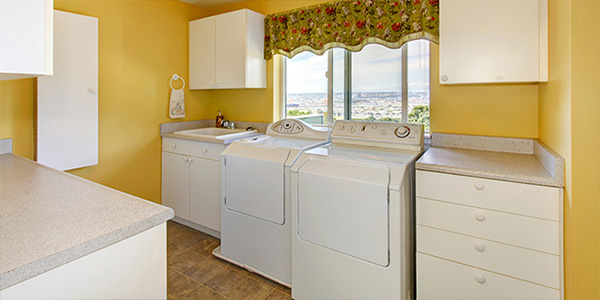
- Expand storage in your laundry room.
- Creating a basement apartment.
- Use kitchen cabinets to furnish an in-law suite.
- Save them to use when fixing up space to be an Airbnb.
Three Common Ways to Get Rid of Cabinets
1. Throw Them Away
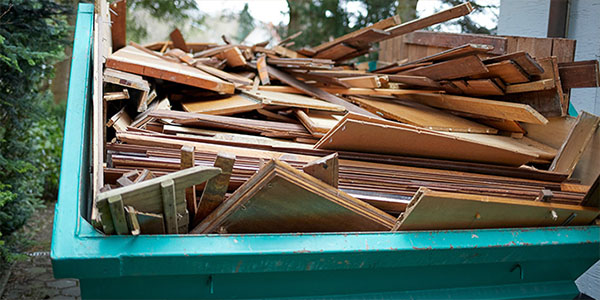
The materials used to make kitchen cabinets can safely go in a landfill. But odds are, you’re going to have way more debris than will fit in your garbage can. If you have a pickup truck and want to haul the load yourself, research your local landfills to see where you can throw away your old cabinets.
Renting a roll off dumpster is a simple solution if you have more debris than you can haul yourself, or if you just want someone else to deal with it.
2. Donate Them
Nonprofits like Goodwill or Habitat for Humanity will take your used kitchen cabinets if they’re in good shape. Habitat’s ReStore sells used furnishings, appliances and building materials at affordable prices for people who need them. Along with helping a member of your community update their living space, you’ll benefit from the tax receipt for your cabinets’ estimated resale value.
3. Sell Them
If you want to make a little extra coin on your cabinets, you can always try selling them. See if any of your neighbors want to take them off your hands. Or list them on Craigslist, OfferUp or Facebook Marketplace.

