Tips for First-Time Homeowners: A Complete Guide

A Complete Guide to Caring for Your New Home
You did it! You walked through all the open houses, you put in your offers, and you’ve finally clinched your first home. While much is behind you, your move-in is just beginning, and with it comes a lot of new responsibilities. If you’re worried about what to expect when caring for your new home, these first-time homeowner tips will help. We’ll cover everything, from how much you should plan to spend when moving in, to how to make sure your brand-new home is set up for success.
How Much Does Home Maintenance Cost for a First-Time Homeowner?
The costs of homeownership don’t stop once you’ve purchased your home. Whether you’re completing regular maintenance projects, preparing for a new phase of life or fixing up flaws, small projects can add up. State Farm recommends setting aside 1% to 4% of your home’s value for an annual maintenance fund. Plus, don’t forget about hidden costs. You’ll want to factor tools, lawn care items, cleaning products and small hardware into your home maintenance budget.
How to Determine a Home Maintenance Budget
Prioritize your budget by taking note of the age and performance of major appliances and fixtures around your house. Is your roof 20 years old? Is your furnace on the fritz? List these major expenses first and determine a way to save for them over time.
Once you have a long-term budget established for larger costs, you can create a more informed budget for maintenance and smaller-sized jobs. Create a priority list and determine what the project will cost. Then, complete projects based on what you can afford.
How Do I Prioritize the Right Fixes?
A great place to start is your inspection report. Most companies will list out any major health and safety issues and also suggested repairs. We recommend making fixes that could impact your safety within the home first, or any code violations. Then move on to repairs that would improve the functionality of your home day-to-day. For example, do you have a wobbly toilet that bothers you? Fix that first.
11 DIY Tips for New Homeowners
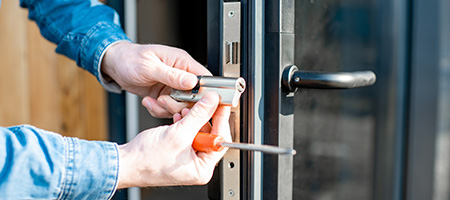
1. Change Your Locks
The very first project you should tackle when moving into a new home is to change your locks and reprogram your garage door. While you’re making this change, it’s a good idea to replace the short screws holding in your strike plate to longer ones. This can improve the overall safety of your home and prevent break- ins.
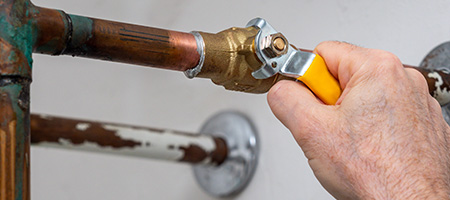
2. Locate Shut-Off Valves
Start your new journey to homeownership by learning the ins-and-outs of your home. It’s important to know where everything is, beyond the furnace and electrical box. Take note of where your shut-off valves are since they control the water supply to the home. If something happens, like a burst pipe, you won’t waste time looking for the valve in a panicked state.
3. Test Your Water
Testing your water supply ensures you have water that is safe to drink and use from the tap. It can also help you identify any potential problems with your pipes or water supply. Even if you’re connected to city water, it’s still common for some older homes to have lead pipes which can contaminate your drinking water. Most cities offer free water testing services, and making sure that your water is chemical-free can provide major peace of mind when it comes to drinking water from the tap.

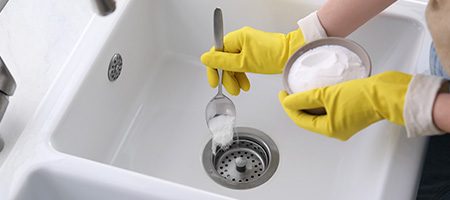
4. Clean Your Drains and Garbage Disposal
Clean all the drains for toilets, kitchens and bathrooms at least once every six months. For sinks and drains you use more often, like the kitchen, you might shorten that schedule to every three months. There are several ways to clean a drain, but one easy method is to use baking soda and vinegar or boiling water. If you have a clog, try a chemical drain cleaner.
Don’t just stop at the drains — clean your garbage disposal, too. You can do this using baking soda and vinegar. Or throw a few ice cubes down the disposal and run it. This will sharpen the blades and break up grease. If you want to deodorize the disposal, cut up some citrus peel and run the disposal to grind the peels. Overall, the best way to keep a clean and functional garbage disposal is to avoid putting substances like grease, egg shells, bones or fibrous vegetables in it.
5. Check Your Smoke and Carbon Monoxide Detectors
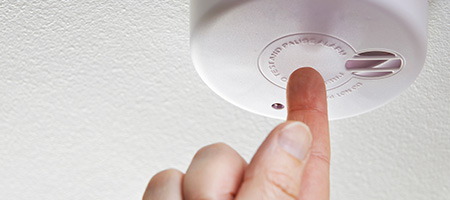
Most smoke and carbon monoxide detectors have test buttons on the cover that you can press and hold for a few seconds to trigger the alarm. If the alarm sounds, everything is working just fine. If it doesn’t sound, check the batteries or electrical to further diagnose the problem.
Make sure your safety detectors work and can be heard around the house. Have one person test the detector and the other move around the house to ensure you don’t need to install another detector.
6. Clear Your HVAC System and Dryer Vents
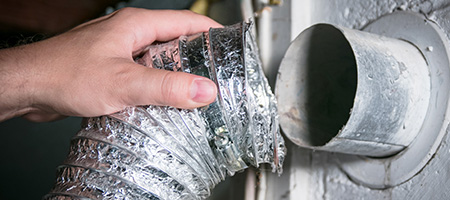
Years of laundry loads can create a buildup of highly flammable lint in your dryer vent. This poses a serious fire risk to your home. Cleaning your vents and replacing ducts can keep you and your home safe. Start by turning off power to your dryer, check the exterior vent for any obstructions, remove any lint and debris and clean the vent cover. You can also hire a professional to help.
It’s also important to clean your air ducts every three to five years to prevent debris and dust buildup. Replace any air filters, clean the vent covers, vacuum the ducts and clean your air conditioner’s drain line.
When Should I Hire a Contractor?
A contractor is a good idea when you don’t have the proper knowledge, experience or tools to complete the job successfully. For example, HVAC cleaning can require a lot of tools to clean up those air ducts.
7. Clean Refrigerator Coils
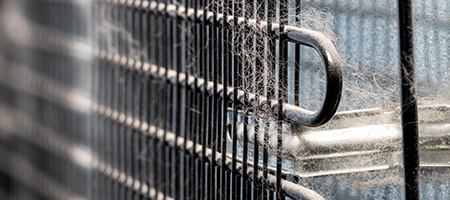
Regular maintenance and cleaning of your refrigerator and other appliances ensures they’ll keep running efficiently over time and last longer between replacements. When refrigerator coils are blocked by dirt, the compressor has to work harder to generate cool air. This can cause higher energy bills, early breakdown of your fridge or even food spoilage.
Unplug your refrigerator and locate the coils. They are usually found underneath or behind the appliance. Brush off any dust and debris and make sure you get all the spaces. Then, vacuum the dust away and wipe the coils down with a clean cloth.

Pro Tip
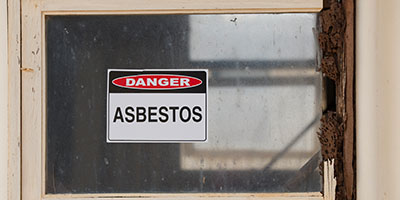
If you’re cleaning an old appliance, be sure not to come in contact with the insulation, as it may contain harmful chemicals, like asbestos.
8. Clean Your Home Exterior and Gutters
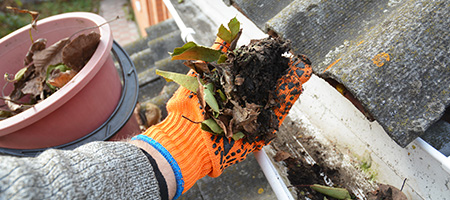
Keeping the outside of your home clean can be just as important as keeping the inside tidy. Clean gutters increase curb appeal and prevent water damage, roof collapse and algae and mold growth. Clean your gutters twice a year, ideally in the fall and spring.
Pull a ladder up to your gutter line and, using your hands, scoop out any large debris, like leaves and sticks, and place them in a bucket. Do this in sections until you’ve completed the entire gutter line. Then, power wash your gutters and siding using a power washer. Make sure to test an area to ensure you’re not causing any damage.
9. Get a Small Toolkit
If you’ve moved into your first house from an apartment or a family member’s home, you may not have all the tools necessary to complete minor repairs. Start collecting small, all-purpose tools from garage sales, pawn shops and online marketplaces so you have the necessary items but don’t have to spend an arm and a leg.
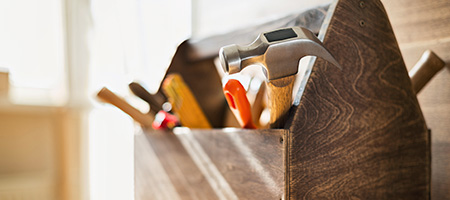
Then, if you have larger-scale projects to complete you can build on the collection. Alternatively, if you need a tool but don’t want to spend, look into community programs that could help out. Many cities have tool libraries and creative studios that rent or loan specific tools.
What Should a First-Time Homeowner Have in Their Toolkit?
Essential Tools | ||
|---|---|---|
Allen Wrench Set | Cordless Drill | Handsaw |
Circular Saw | Extension Cord | Ladder |
Claw Hammer | Flashlight | Level |
Clamps | Hammer | Nails |
Pliers | Screwdrivers | Tape Measure |
Plunger | Staple Gun | Utility Knife |
Putty Knife | Stud Finder | Wrenches |
Safety Gear | Screws | Wire Stripper |
10. Caulk Windows and Tile to Waterproof Your Home
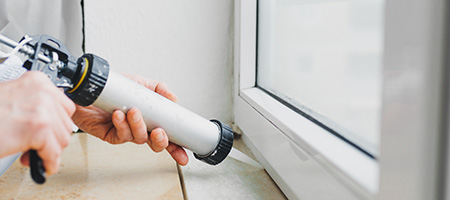
Water within your home can cause a lot of damage. Your first line of defense is the exterior of your home. Assess the caulk on your windows and repair it if it’s damaged. Start with a caulking gun in one corner of the window and work your way to the other side. Then, smooth the caulk line with your finger to create a seal.
Make sure water isn’t getting in through other areas of your home, either. Take a look at how your property slopes to check that water isn’t running toward your house and eroding the foundation.
Water damage can also come from the inside. Make sure all your sinks, tile and showers are appropriately caulked to prevent moisture from getting into the walls and causing damage.

Pro Tip: Complete DIY Repairs Quickly
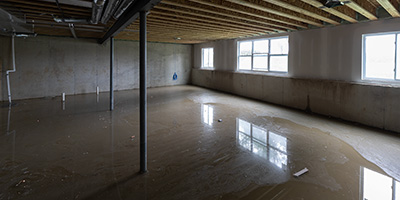
Don’t wait until the rain hits to waterproof your home. Oftentimes repairs that are done late or have been lingering for years can cost you more in the long run, especially when it comes to water within the home. Excess moisture can cause rot, mold problems and more.
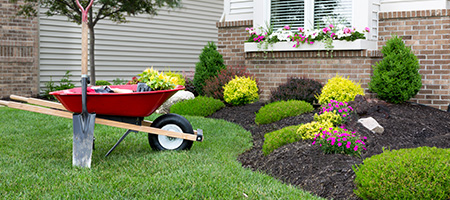
11. Landscape for the Season
When you move into your home will dictate what type of yard work you should be doing. Each season requires different tasks, so if you’re eager to start landscaping, make sure you’re choosing the best projects for the health of your property.
Spring Landscaping Tasks
Spring is the time for new growth. The most important things to get done when you first move in are to:
- Weed the yard
- Divide any overgrown perennials
- Check out your yard’s drainage
- Fertilize your lawn and gardens
- Mulch flower beds for an instant visual refresh and to prevent unwanted summer weeds
If you have extra time and you want a garden in the summer, it’s best to plant any vegetables by Memorial Day weekend, or earlier depending on your planting zone.
Summer Landscaping Tasks
If you move in during the summer, water and pest prevention are your top priorities.
- Water the lawn and any potted plants. Common landscaping plants like hydrangeas also need a lot of water, so be sure to keep an eye out for anyone who looks a little extra wilted in the heat.
- Fight off pests to keep everything healthy. Remember that the easiest way to keep pests away is to keep your plants healthy. Regular weeding and watering will help you keep plants strong enough to survive any pests on their own.
Summer isn’t the best time for landscaping planting in most areas, since new plants have a harder time surviving the heat stress. Feel free to focus your efforts on moving in, and get back to the garden when you have more time in the fall.
Fall Landscaping Tasks
Fall move-in can be stressful for outdoor work, since it’s a busy time for landscaping projects. If you only have time for the basics, here’s what to focus on:
- Raking leaves and any necessary yard cleanup tasks
- Cutting back and pruning perennials that absolutely need it. Overgrown trees that might harm the house should be top priority.
- Reseed the lawn if a lush, green spread is important to you in spring.
If you have any extra time, this is the best season to plant bulb flowers and spruce up landscaping with new perennial plantings, but those can always wait until next year if you’re strapped for time.
Winter Landscaping Tasks
When you move in during the winter, you’re mostly off the hook for landscaping chores. But, to make your spring go a little easier, here are a couple of tasks to consider:
- Prune trees that are overgrown or that have overhanging branches
- Clear land in areas you know you don’t want certain trees or shrubs
- Start hardscaping projects, if you’d like.
Winter is best for garden cleanup tasks. You can also start gathering the tools and supplies you’ll need in the spring, like shovels, trowels, fertilizer, lawn seed, and more.
Remember — Landscaping Can Take Time:
It takes time to achieve the landscaped property of your dreams. Be patient, and let the plants you’ve chosen grow into a mature yard. If you’ve never landscaped before, be sure to consider:
- What plants appeal to you
- How much privacy you want to create
- What can grow in your zone
- When to prune
- How to care for a lawn
First-Time Homeowner FAQs
What can I expect in my first year of homeownership?
Homeownership can be unpredictable. You may encounter a variety of challenges or none at all. It’s fair to expect regular home maintenance and repair costs. You may also stumble into unexpected renovation costs or need home insurance support. Create a well-planned budget to help combat the financial weight of these fixes.
How can I save on energy costs?
There are many ways to save on energy within your home. Adjusting your thermostat, changing your air filters and ensuring your home is well-insulated are just some ways to help you save.
There are a few quick and easy tips to keep your home safe as a first-time homeowner:
- Check fire extinguishers
- Regularly test smoke alarms
- Meet your neighbors
- Create an emergency plan
- Add security cameras
- Install flood lights
Deep clean the home and assess if there are any immediate repairs that need to be made. Create a budget for these repairs and make a regular maintenance plan.
Start Working on Your New Home
Now that you know what tasks are essential for keeping your home safe, clean and damage-free, it’s time to start making those repairs. Get to work using the rest of our DIY home improvement guides to get in-depth how-to’s to keep your home in the best shape you can.

