Refinishing Hardwood Floors in 7 Simple Steps

DIY Tips to Refinish Your Hardwood Floors
Hardwood floors add character and warmth to any home. And like a fine wine, part of their beauty is they only get better with age. Over years, decades and even centuries, your floor’s patina is as unique as you are — each nick and crevice telling a different story of a time gone by.
That is, to an extent. Golden or grey hues can become drab and mottled. Gouges will draw your eye, taking away from your floor’s natural charm. When that happens, DIY hardwood floor refinishing may be in order.
When to Refinish Hardwood Floors
1. After Extensive Daily Wear
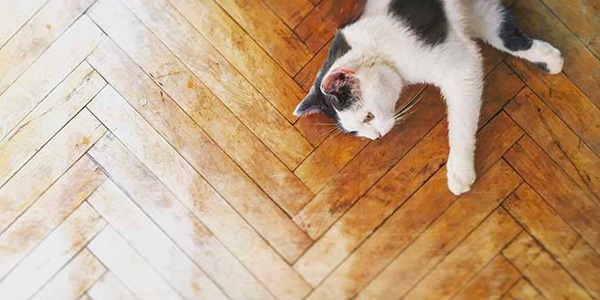
Hardwood floors are durable and long-lasting but not impervious to spills, dog nails, chair legs and dirt. Even typical daily use can lead to noticeable wear patterns on your old hardwood floors. Scratches, water damage, discoloration and dullness may mean it’s time to consider refinishing your hardwood floors.
2. After Removing Other Flooring
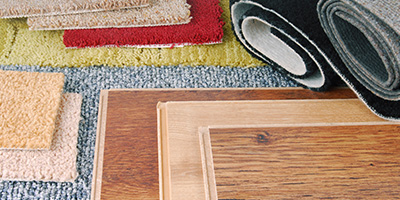
If you’ve recently removed old carpet or laminate flooring — and are lucky enough to have hardwood underneath — this is another prime time to refinish hardwood floors yourself. You can also refinish your floors in order to change their color. By removing the top layer of stain during the sanding process, you’ll be free to choose a new stain color for your flooring.
3. After 10 Years
As a general rule of thumb, you should be sanding and refinishing hardwood floors every seven to 10 years. Over the floor’s lifespan, you may repeat the process anywhere from four to 10 times for typical 3/4-inch solid hardwood.
Not sure whether your floor needs refinishing? Put a few drops of water on its surface. If the water beads on top, your floors are probably fine. If the water absorbs right into the wood, it’s time for refinishing.
Keep in mind that buffing may take care of minor damage. This includes shallow scratches that only affect the top sealant layer of the floor. You can use buffing as a spot-treatment, similar to an exfoliator for your floor, targeting only small areas that need it. But for a full sand and refinish, you’ll need to do the entire floor.
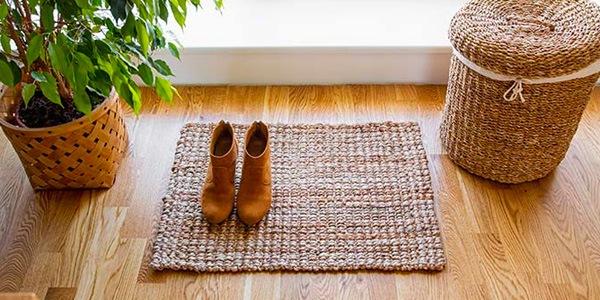
Can I Refinish My Hardwood Floor?
Before you begin, be sure you know what type of flooring you have. Solid hardwood floors are best suited for sanding and refinishing. You can also refinish engineered wood floors, depending on their thickness. Sanding old hardwood floors generally removes about 0.75 millimeters (mm) to 1 mm. If the wear layer on your engineered wood floors is 1 mm or less, you shouldn’t refinish them.
Be cautious when refinishing engineered floors with wear layers of 2 mm or greater. Keep track of how many times you’ve refinished them so you don’t overdo it. Be aware that if your floor was hand-scraped or distressed in order to give it a rustic, lived-in look, sanding and refinishing will remove those unique design elements.
Also bear in mind that you can’t refinish laminate floors. There are certain instances when your floor may be beyond repair — and replacement is warranted over refinishing. Signs that you need new floors include:
- Severe cupping from water damage
- Structural problems that require fixes to the subfloor
- Wide gaps between planks or movement between boards
- Excessive amounts of exposed nails
- Sanded too many times, leaving the wood too thin for another refinishing
How Do I Know if My Floor Is Solid Hardwood or Engineered Wood?
If you’re not sure what type of flooring you have, remove a floor air vent and take a peek at the flooring. Flooring that’s solid and at least 3/4-inch thick is perfect for refinishing. If you see individual layers of thin wood, you have engineered flooring. Refinish with caution, if at all.
The wear layer of an engineered wood floor refers to the top layer. Determine the thickness of the wear layer by contacting the flooring manufacturer or using a ruler to measure it yourself via the air vent.

How Much Does It Cost to Refinish Hardwood Floors Yourself?
DIY hardwood floor refinishing costs much less than paying someone else, as long as you’re up for the challenge. If you hire a professional to sand and refinish your hardwood floors, expect to pay anywhere from $2 to $8 per square foot. This varies depending on your location and desired finish. For a dustless refinishing job, which requires the use of special commercial vacuums, you’ll pay on the higher end of this range.
Going it alone? When possible, consider renting tools needed for refinishing hardwood floors. Even if you just rent a drum or orbital sander for $160 to $270 a week and buy the rest, it will cost about $500 to $1,000, depending on the scope of your project. Here is a list of the average costs for necessary tools and equipment, as reported by Angi:
- Drum or orbital sander rental — $60 a day/rental
- Stain — $27 to $40 a gallon
- Finish coat — $165 to $360
- Belt sander and other sanding materials (purchase) — $140
- Tools and painting equipment — $125
- Cleaning and safety tools — $150
If your original flooring is in in too bad of shape for refinishing, it’s time to install a new hardwood floor. Expect to pay about $6 to $18 per square foot for labor and materials. This can increase to about $25 per square foot for higher-end wood options.
Is It Worth It?
The satisfaction of walking across your refinished hardwood floors has an intangible value. In its 2022 Remodeling Impact Report, the National Association of Realtors gave refinishing hardwood floors a Joy Score of 10. The perfect score indicates it’s likely to bring homeowners the highest level of happiness.
It also topped the Recovered Project Cost (RPC) percentage of all projects at 147%. That's even higher than the 118% RPC percentage of installing new wood flooring. The association calculates the percentage by comparing a project's estimated cost to the dollar value it adds to a house at resale. (If you’re looking for another cost-effective project, consider an insulation upgrade, which came in at 100%.)
How to Refinish Hardwood Floors Cheap
Hardwood floors are an investment — one that adds considerable value to your home. If you’re working with a tight budget, you’re probably already set on going the DIY route to spruce up your old hardwood floors. However, you can save even more, beyond DIY, by using these cost-saving tips:
- Borrow necessary equipment — Ask a friend or family member to borrow any tools needed for refinishing hardwood floors.
- Rent with a friend — If you’ll be renting equipment, such as a drum sander, opt for the weekly rate, which is typically less per day than the daily rate, and share the cost with a friend who’s also refinishing their floors.
- Watch for sales — Floor stain and polyurethane can be costly, but local hardware stores often run sales on select brands. Keep an eye out on prices and stock up when they fall.
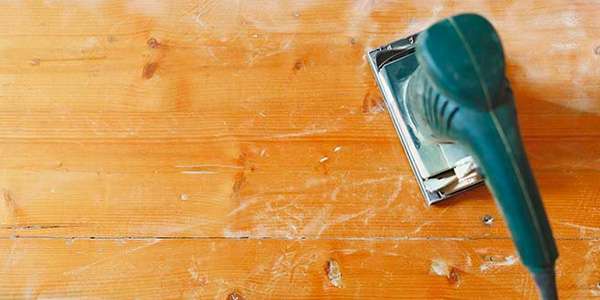
How to Refinish Hardwood Floors
Ready to dig in? Depending on the scope of your project, it can take anywhere from two to seven days to completely refinish your old hardwood floors.
1. Gather Tools and Materials Needed for Refinishing Hardwood Floors
Before you begin sanding and refinishing your hardwood floors, here’s what to have on hand.
- Drum or orbital sander — orbital sanders are easier to use for beginners
- Plastic sheeting
- Nail set
- Putty knife
- Pry bar
- Dust mask and respirator
- Power hand sander
- Hardwood floor cleaner
- Mineral spirits
- Wood filler
- Floor buffer or pole sander
- Paint tray
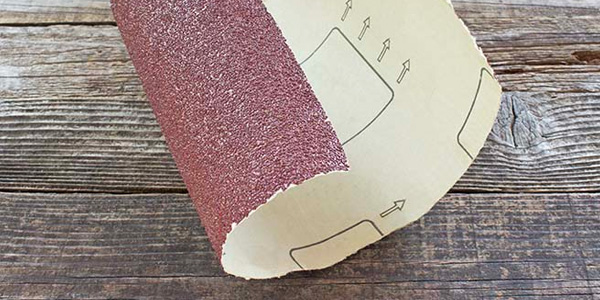
- Sandpaper with various grits, ranging from 30 to 100 (see our sandpaper grit size chart below for details)
- Cotton rags
- Painter’s tape
- Shop vacuum
- Goggles and ear protection
- Stain (optional)
2. Prepare the Room
You’ll need full access to your floors for proper refinishing. Start by removing furniture, rugs and window treatments. Next, remove any doors and use a pry bar to pull up the shoe base molding or quarter round. Use a pencil to number each piece so you’ll know how to replace them. If no shoe base moldings are present, you can either carefully remove the entire baseboards or leave them put and be careful not to damage them with the sander. Next:
- Inspect the floor for any protruding nails. Use the nail set to drive any nails below the surface of hardwood, ensuring the nail heads aren’t sticking up. Nails not flush with the floor will damage sanding belts and slow your progress.
- Repair any existing damage to the floors, like holes or scratches, with wood putty and a putty knife. Secure any squeaky or loose floorboards using finishing nails.
- Clean the floors thoroughly with hardwood floor cleaner or a homemade mixture of vinegar and water. Allow to dry before sanding.
Refinishing hardwood floors can generate considerable amounts of dust. The finished product will be worth it — as the saying goes, you’ve got to crack a few eggs to make an omelet. Cut down on cleanup by covering vents with painter’s tape and sealing doorways with plastic sheeting.
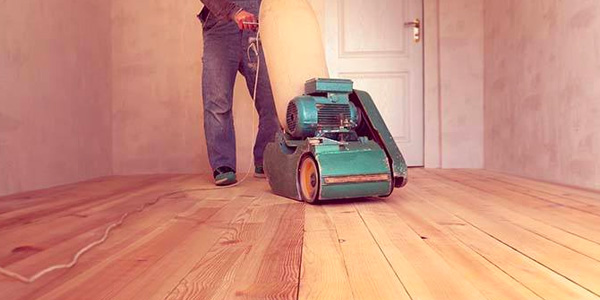
3. Sand Your Old Hardwood Floors
Grab your dust mask, goggles and ear protection — it’s time to get sanding. Prepare your drum or orbital sander by attaching the coarsest grit sandpaper and positioning it to go with the grain of the wood. For warped floors, go diagonal with the grain — but never go completely against the wood grain.
How to Identify Wood Grain Direction
When you look at your floors, you’ll notice a grain pattern in the wood. To determine its direction, run a gloved hand or rag along the surface of a board. If it snags or you feel splinters, you’re moving against the grain. If it feels smooth, you’re moving with the grain.
Tips for Successful Sanding
If you haven’t worked with a drum sander before, it’s a good idea to practice on a sheet of plywood before setting it loose on your floors. Once you’re ready, follow these steps to sand your hardwood floors:
- Begin moving the sander forward as you turn it on. If you stay in one place for too long, you will damage the floor.
- Move at a steady, even pace and let the sander do the work as you follow the grain across the room. As you work, pull the sander, don’t push it.
- When you get to the other side of the room, move the sander over and pull back slightly, overlapping the next pass a few inches with the previous one, about one floorboard’s width. You don’t need to turn the machine around as it can move in both directions with the same effect.
- Check the sandpaper frequently to make sure it isn’t worn out. When it does wear out, replace it with a fresh piece, using the same grit until you’ve covered the whole room once. If the sander has a dust-collecting bag, empty it often so it doesn’t add weight to the machine.
- Sand the whole room, getting within a few inches of the walls and corners. After completing one trip around the whole room, turn off the machine before you stop moving.
- Apply the same grit of sandpaper to the hand sander. Use it to finish the edges and corners of the room, as well as small spaces like closets. Move in a semicircular motion, overlapping the completed area to help it blend in.
- Use the vacuum to clean the floor before beginning the second round of sanding.
- Repeat all steps twice more, changing the grit of the sandpaper each time, progressing gradually from coarse to medium to fine.
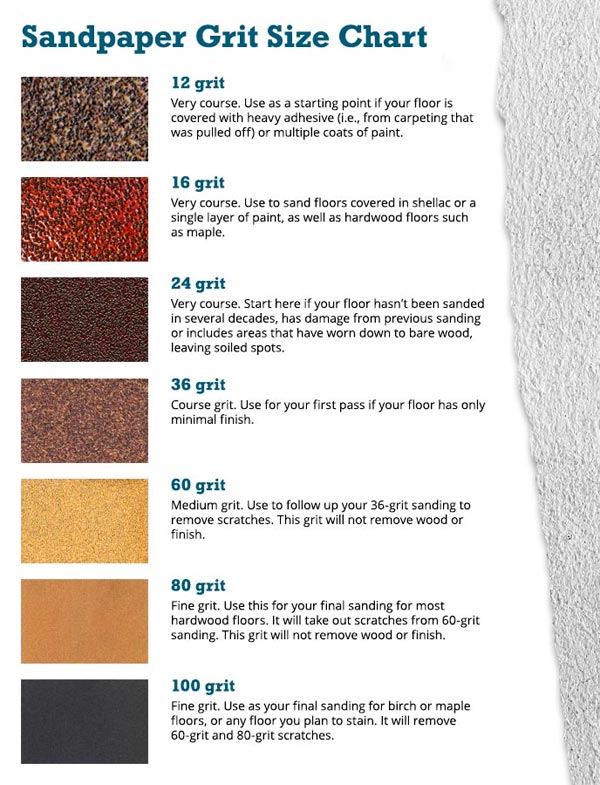
Sandpaper Grit Size Chart
It’s important to progress gradually through the proper grit sequence for your floor. The sequence that’s right for your project depends on the condition of your old hardwood floors along with the type of wood. The more damaged your floor is, the coarser the grit you’ll need to start with. Then, repeat the process with increasingly finer grits. Do not skip from a coarse grit to a fine grit, as this may leave scratches in your flooring.
In many cases, a sequence of 36 grit to 60 grit to 80 grit is effective, but you may need to start with a coarser grit, or finish with a finer grit, depending on your floor. If you’re not sure, sand a small test area using 36-grit sandpaper to start. If the area comes out bare and free of flaws, you’re at a good starting grit. If not, you’ll need to start with a coarser grit. The table below details some of the most common sandpaper grit sizes and when to use them.
4. Buff Your Floors
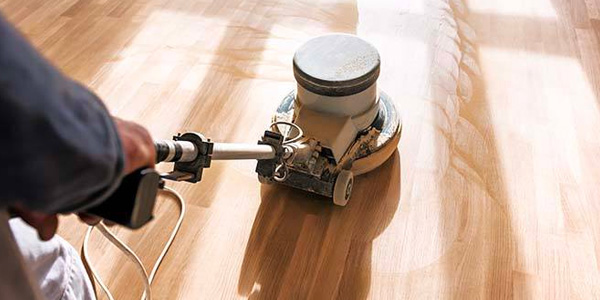
Buffing represents the final stage of the sanding process. It removes any imperfections or marks that sanding left behind. While some people choose to skip this step, buffing will result in the smoothest finish possible.
Use a floor buffer or a hand-held pole sander fitted with a fine 120-grit sanding screen. Buff along with the grain of the wood as you did while sanding, giving the floor one good sweep.
5. Make Sure the Floor Is Immaculate
Next, vacuum the floor to remove all dust and debris. Follow up with a damp mop or tack cloth to remove all traces of dust. You can also dampen a rag with mineral spirits and use it to wipe down the floor one more time. Then, leave it to dry.
6. Stain the Floor (Optional)
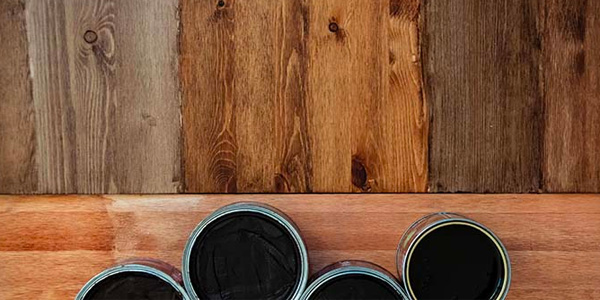
If you want to change the color of your floor, it’s now ready for stain. This step is optional — if you prefer the look of the bare wood move to step 7. Once you’ve chosen a stain, follow the steps below to apply it:
- Open windows and ensure the area is properly ventilated. Wear a respirator.
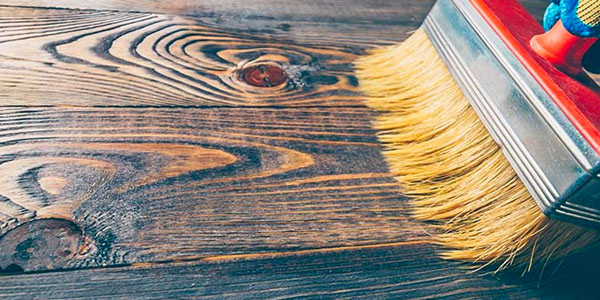
- Apply stain with a paintbrush or cloth, moving in the direction of the wood grain. Start in a far corner and work toward the door, so you can exit the room without walking on the wet stain.
- Focus on one area of the floor at a time, such as a four-foot section.
- Remove any excess stain with a rag before moving on.
- Move quickly so the edges of the section you’re working on don’t dry, which can leave stripes on your floor. As you move to a new section of the floor, use your rag to blend the edges together.
- Stir your stain every 10 to 15 minutes.
- Allow to dry thoroughly. This may take 24 hours or more.
- Repeat with more coats as needed to achieve your desired color.
7. Apply a Finish Coat
A finish coat is necessary to seal the floor, helping to protect it from water and daily use. Depending on which type you choose, it can also add shine and a hint of color.
You can choose the type of sheen — how much light the floor reflects — ranging from matte (low luster) to high-gloss. Be aware that high-gloss sheens may magnify minor imperfections. While polyurethane is the most common choice for finishing hardwood floors, other options do exist and have been making a comeback due to their ability to bring out your floor’s natural beauty.
If you’ve chosen to skip stain, you can apply a sanding sealer before the finishing coat. To do so, apply a thin coat of sanding sealer to the entire floor and allow to dry fully. Then, sand the floor using a fine grit sandpaper. Clean the floor thoroughly, and you’re ready to move on to the finish coat.
Finish Coat and Top Coat Options
- Water-based polyurethane — Low in volatile organic compounds (VOCs) with a clear finish and fast drying time. While water-based polyurethane emits fewer toxic chemicals, it’s typically more expensive than oil-based varieties. And you may need to apply several coats to get the desired finish.
- Oil-based polyurethane — High in VOCs with a slow drying time. Oil-based polyurethane has an amber tint and may yellow over time. It’s typically less expensive than water-based options. Use a respirator during application.
- Wax — Wax is a top coat you can apply as a final layer on your floor. While it won’t add durable protection against moisture or deep scratches, it does act as a protective seal and will enhance your floor’s patina, making it richer.
- Natural oils — Unlike polyurethane, which is a surface finish, natural oils like tung and linseed penetrate deep into the wood, providing resistance to wear in one coat. Oil finishes are typically used to enhance the natural look of the wood or provide a warmer, more rustic appearance.
We advise against using varnish or lacquer. The term “varnish” is sometimes used interchangeably with a finish coat, but actual varnish is typically used for outdoor projects. Lacquer is a finish coat best used for indoor furniture to achieve a high-gloss shine.
Finish Application Tips
Here are tips for applying polyurethane finish:
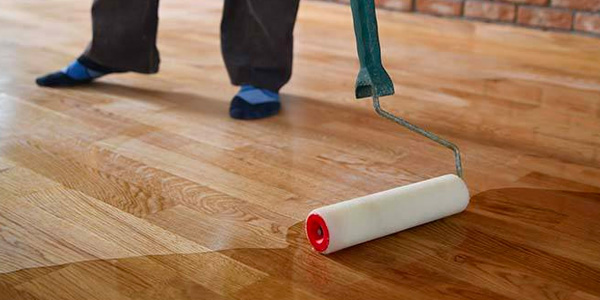
- Begin by using a paintbrush on the perimeter of the room. Cover about 12 inches of the floor from the wall toward the center of the room. Work in the direction of the wood grain.
- Keep your brush wet and try to avoid bubbles and drips.
- Once the perimeter is complete, use the lamb’s wool applicator or foam roller to do the rest of the room.
- Remember to work your way toward the exit, while still applying with the grain. Once you begin to apply the polyurethane, you will not be able to step on the floor.
- Allow to dry thoroughly, according to the manufacturer’s instructions, typically at least 24 hours. Depending on temperature and humidity, you may need to wait longer.
- Repeat the steps to apply a second coat, or more in highly trafficked areas. The more coats you apply, the more durable the finish will be. You may need to buff the floor between coats. Consult the manufacturer’s instructions for details. If you do buff between coats, be sure to clean thoroughly to get rid of all the dust.
Keep Your Refinished Floors Looking New
Now that you’ve finished sanding and refinishing your hardwood floors, you’ll want to keep them looking their best. Regular vacuuming is important. Debris left on the floor acts like sandpaper, causing scratches and wear. Ideally, sweep and use a dust mop daily to remove debris. Follow up with a vacuum using a soft brush attachment or setting to pick up fine particles. If you can’t commit to cleaning your entire floor daily, try to at least do a quick sweep of high-traffic areas.
For deeper cleaning, use a damp microfiber mop or cloth along with a gentle cleaner or white vinegar mixed with water. Avoid soaking the floor or using a steam mop, which can cause damage. Damp mop your hardwood floor as needed. Clean high-traffic areas once weekly, other areas once a month.
Refinishing hardwood floors requires some hard work and planning, but the end result — old hardwood floors that look new again — is worth it.

